| Home | Getting started | Managing users | Collecting work | Shared folders | Backups | Advanced options |
|---|
Ubuntu
Linux itself is actually a family of different distributions, all their own Operating Systems but based on the Linux Kernel. Ubuntu is one of these distributions. It was specifically designed to be really simple and easy to use for new users of Linux and is the single most popular Linux distribution. The current LTS (Long Term Support) version of Ubuntu is 14.04 (with the previous being 12.04). 14.04 has guaranteed software and security updates till April 2019.
The codename for 14.04 is Trusty Tahr.
Installation
Creating Ubuntu Installation Disk
First you need to create an installation media for installing Ubuntu on your server computer. This can be in the form of
a disk or a USB flash drive. Creating and booting from a disk is easier for beginners.
Ubuntu have a number of guides for different operating systems for creating an Ubuntu 14.04 installation disk from
different operating systems.
Select the one you are going to create the installation DVD from. You will need a standard writeable DVD (and not a CD) for this.
Installing Ubuntu 14.04
Please make sure your server machine has no important information left on it, as we will be deleting everything. You have been warned! You also need a working (if possible unfiltered) Internet connection. Wired Ethernet is preferable for installation.
Insert your Ubuntu 14.04 installation disk into the computer you intend to use as a server
Shutdown the computer
Hold the “Boot from CD” key or “Boot menu” key. This is commonly F3. If in doubt, refer to your computer’s manual.
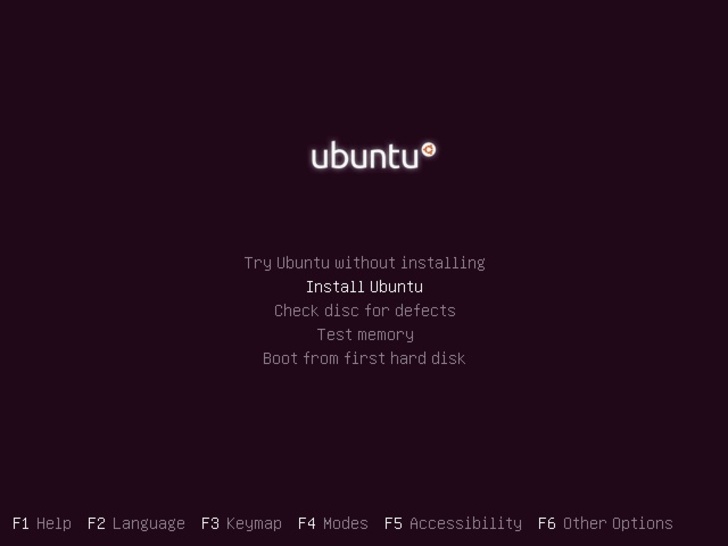
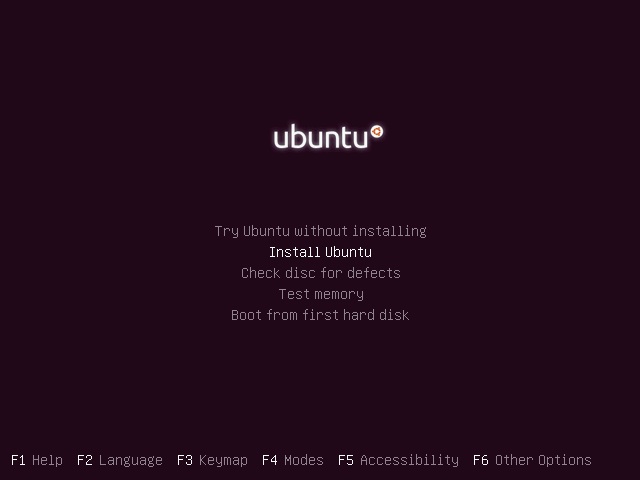
Ubuntu installer screen should load up as below. Select “Install Ubuntu”
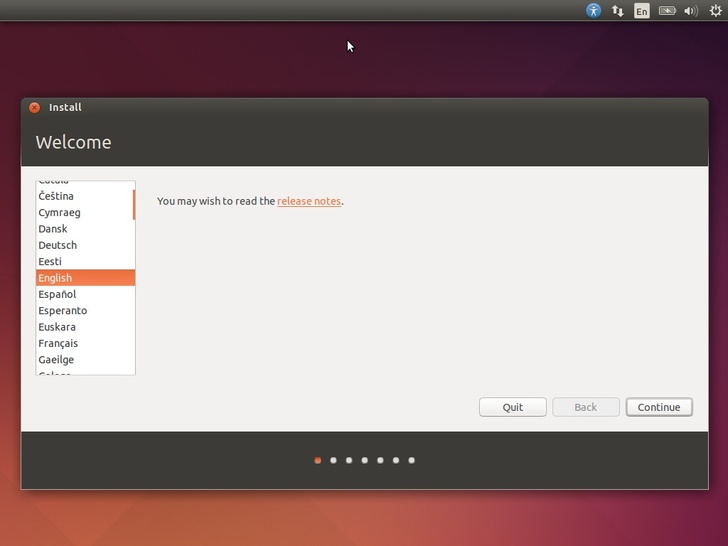
Select English and hit continue
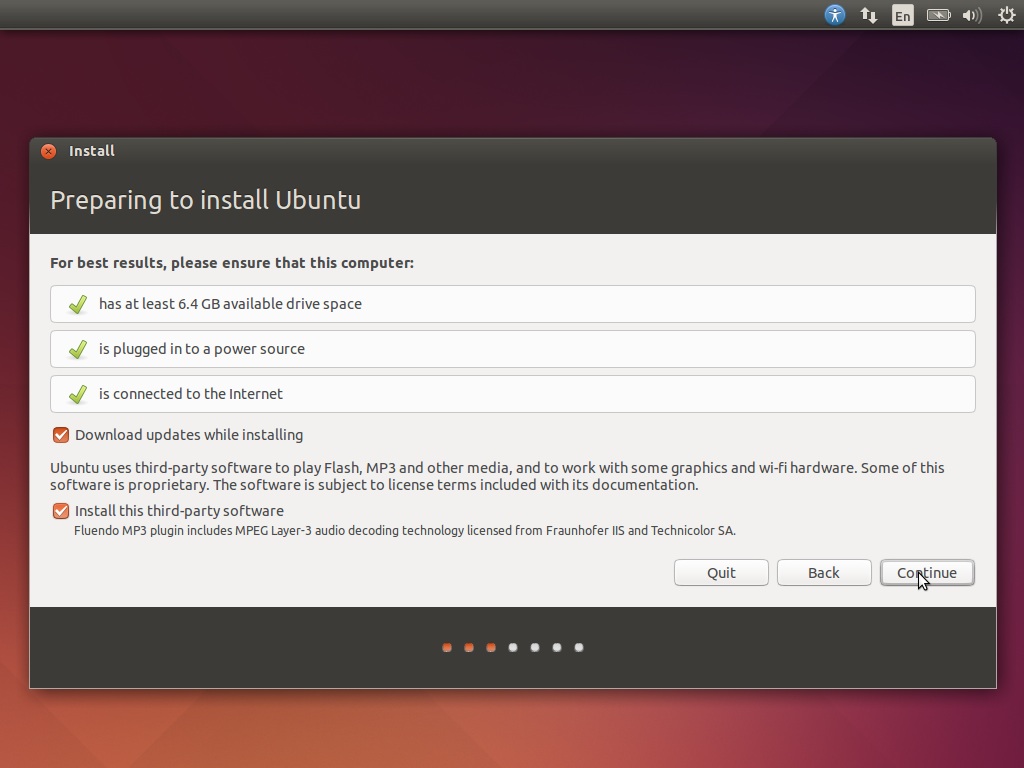
Check both the “Download updates while installing” and “Install-third party software” and click continue.

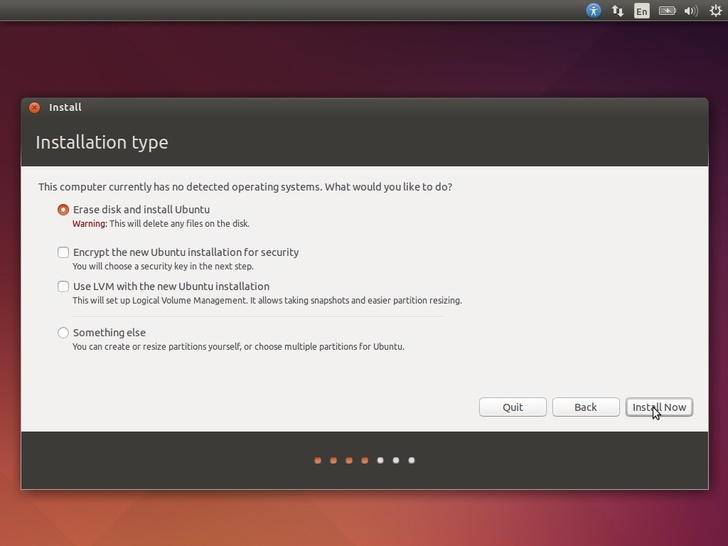
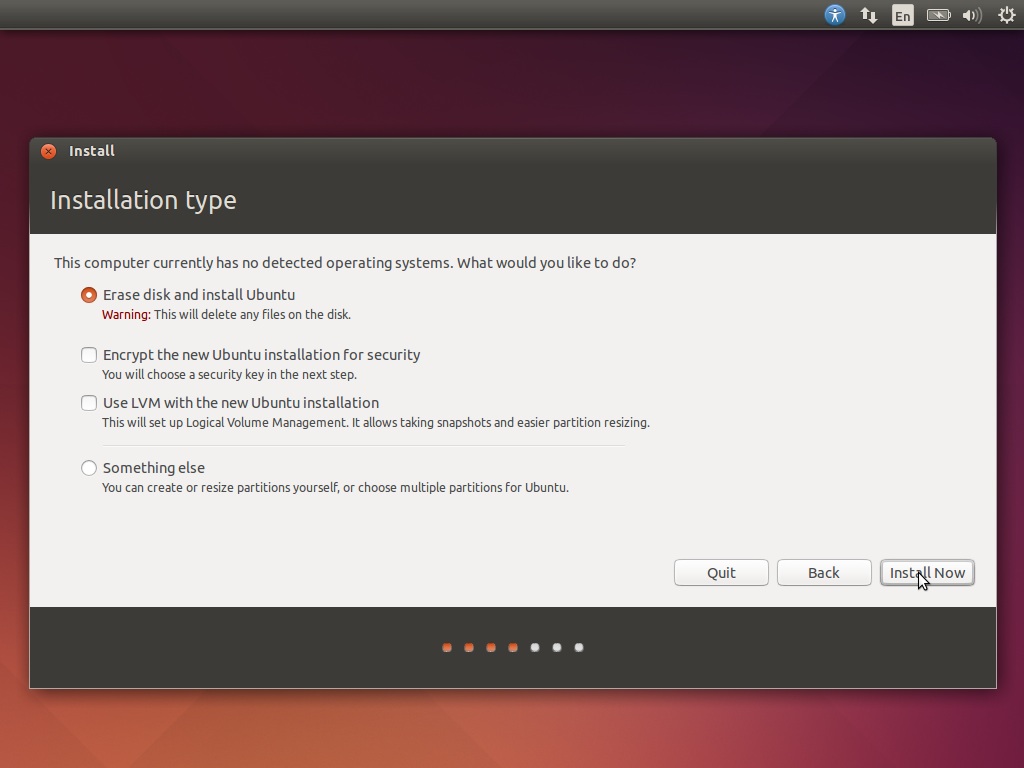
Select to “Erase disk and install Ubuntu”. This will completely wipe your hard drive! No information currently stored on this computer will remain. It will all be deleted
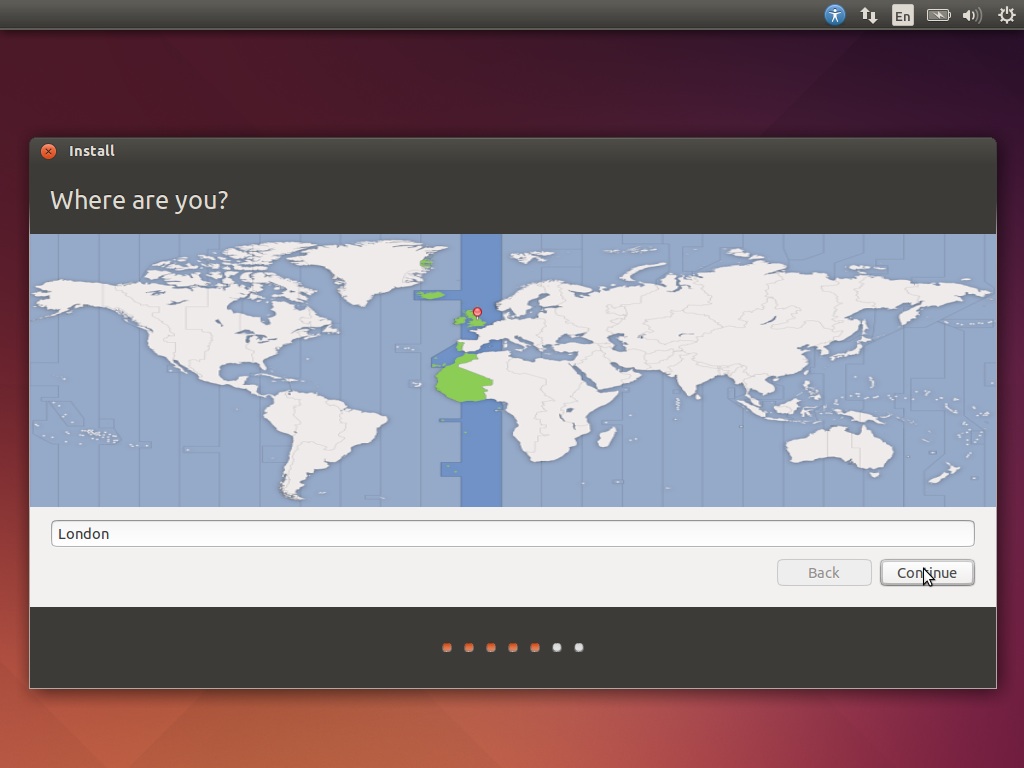
Select your location and time zone. For the UK, select London and hit continue

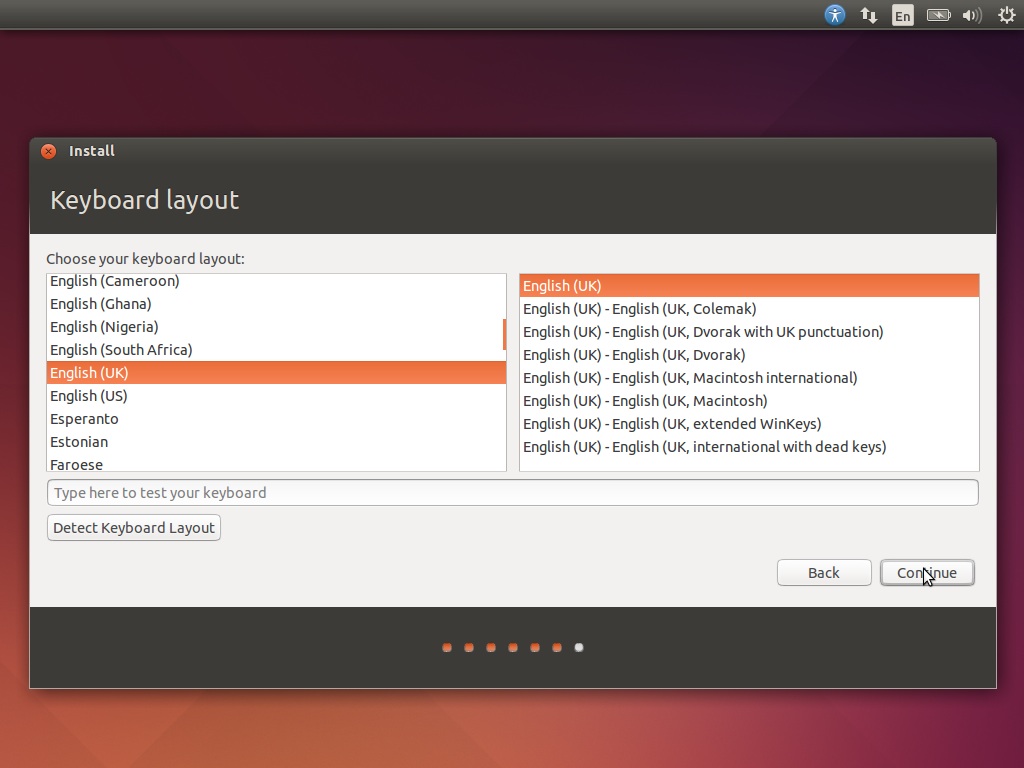
Select your keyboard. The default is likely correct. If living in the UK, select “English (UK)” and select continue.

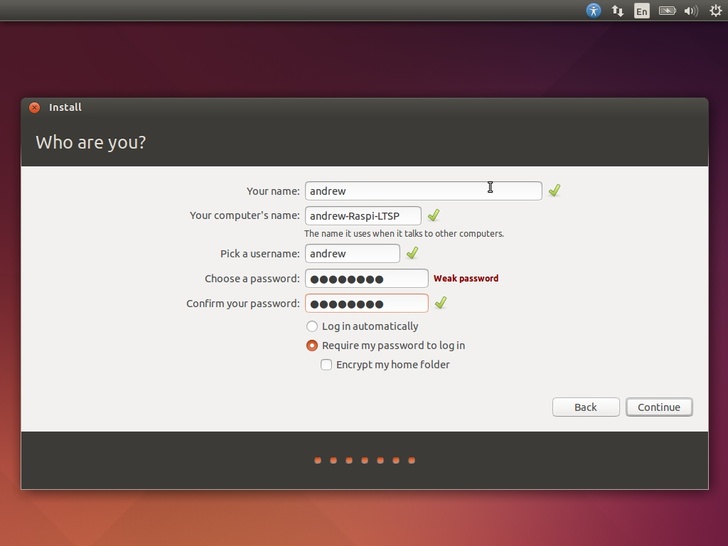
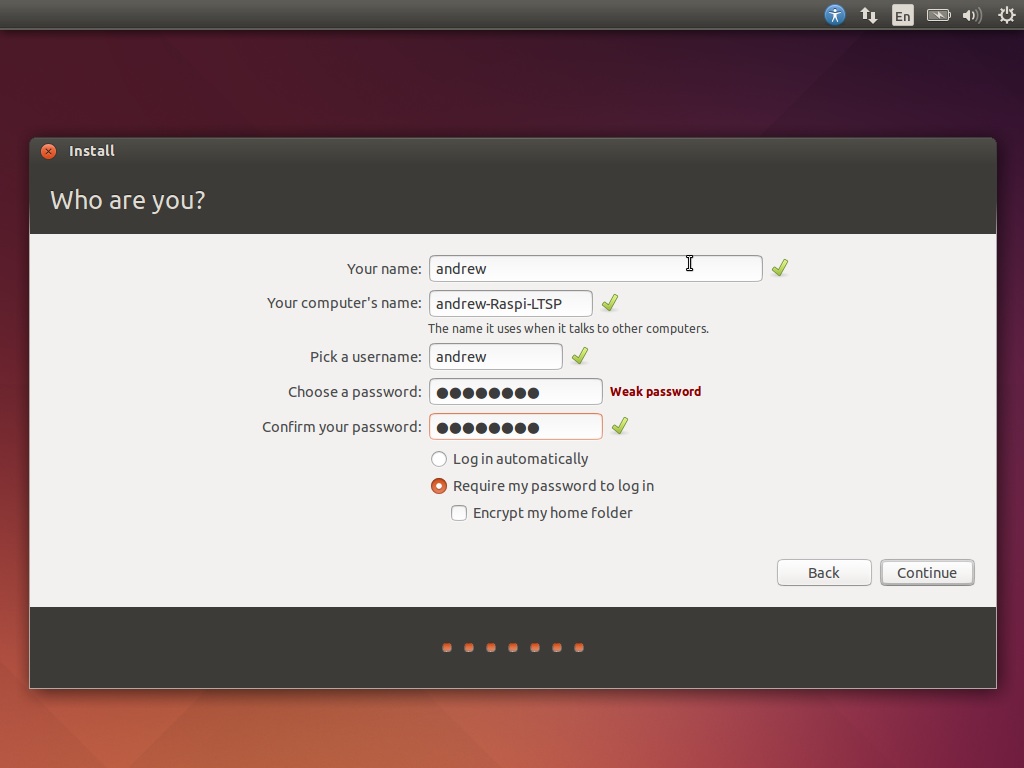
Now enter your login details. These will be the administer login details on the server. It is recommended you leave the computer name at default.
Now wait for Ubuntu to install. This normally takes roughly 10-20 minutes, depending on internet speed and computer processing power.

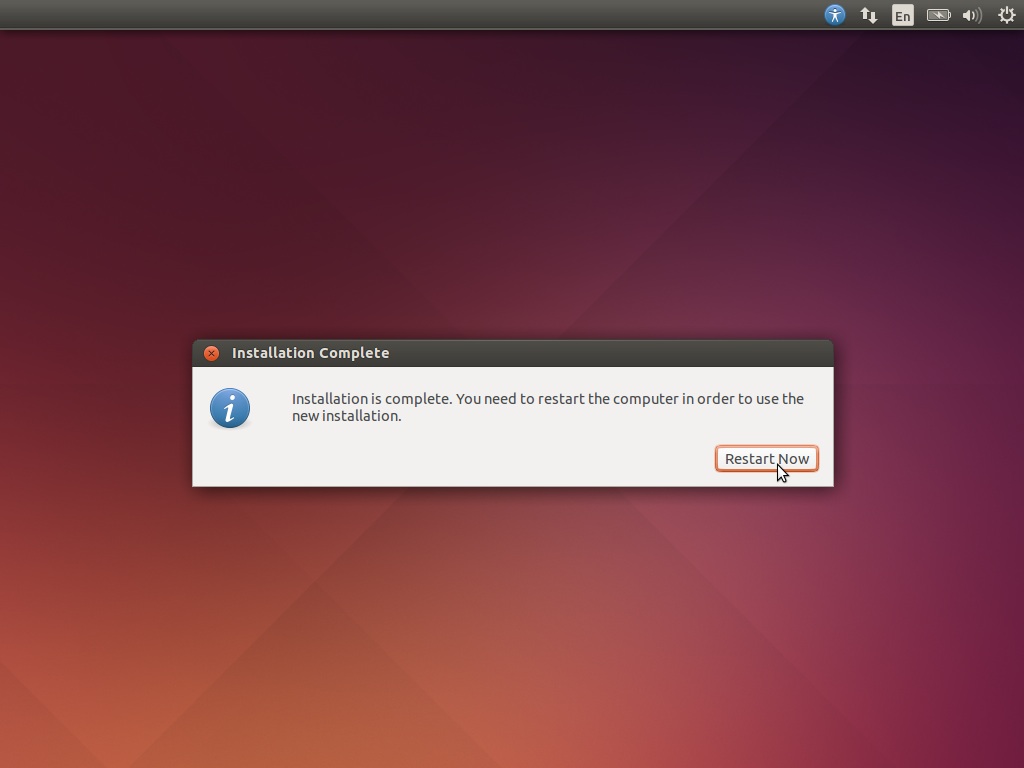
Once it finishes it will ask to reboot. Remove your installation CD from the drive and select “Restart now”.


Installing RaspberryPi-LTSP
Now that Ubuntu is installed, you can move onto installing RaspberryPi-LTSP.
Installing RaspberryPi-LTSP