| Home | Getting started | Managing users | Collecting work | Shared folders | Backups | Advanced options |
|---|
Installing Raspi-LTSP
Now you have an Ubuntu 14.04 server setup, it is time to actually install Raspi-LTSP. Raspi-LTSP is run through a terminal. This allows you use it locally or even run the software over SSH! Lets get started!
Once the machine reboots, login with your credentials you set up earlier.
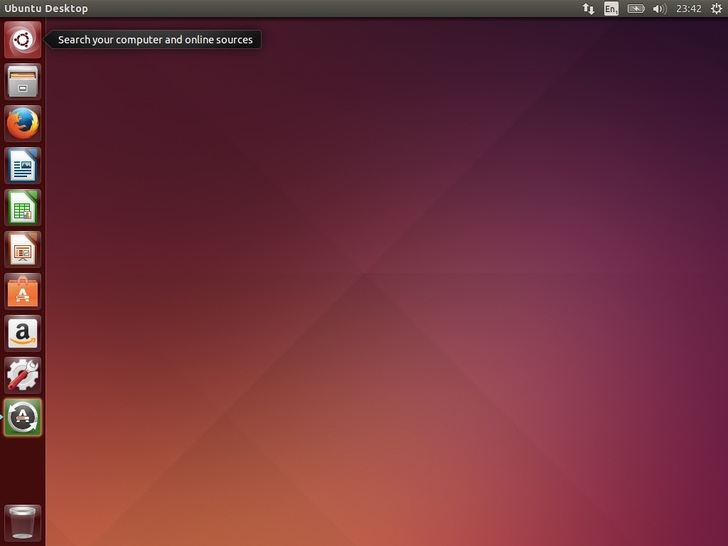
Select the search button in the top left corner.
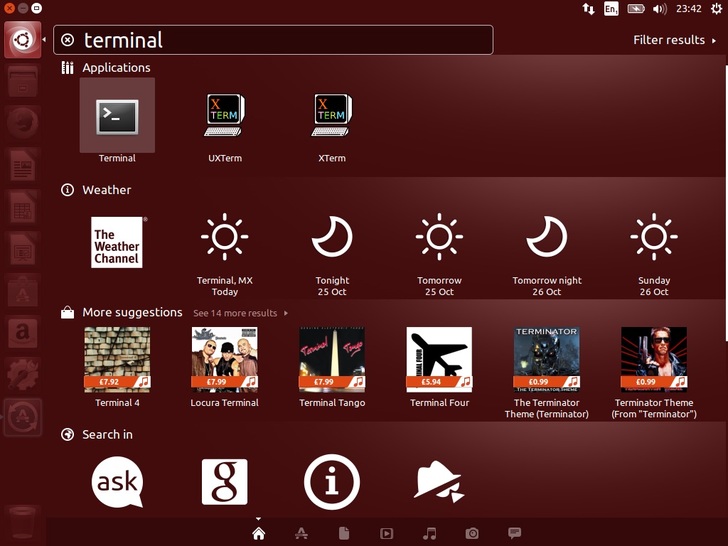
Search for and select “Terminal”. You can also just hit Ctrl + Alt + T.
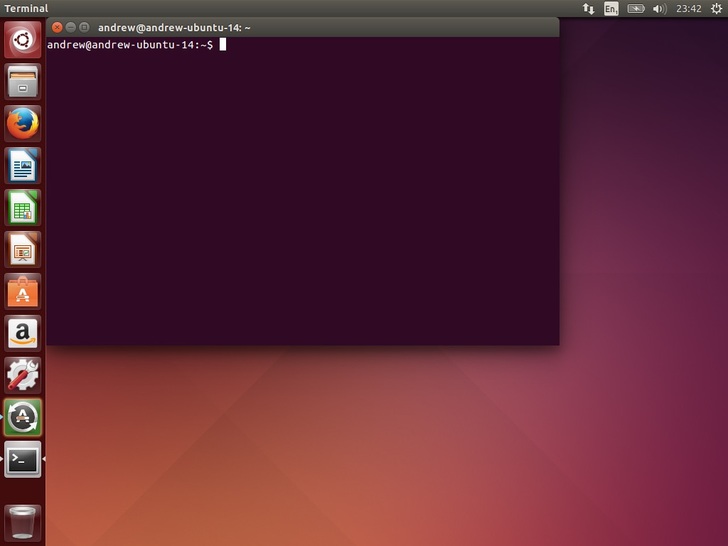
You will then be presented with a terminal. Raspi-LTSP runs inside a terminal window. You may find it useful to resize the terminal window to make it larger or put it in full screen.
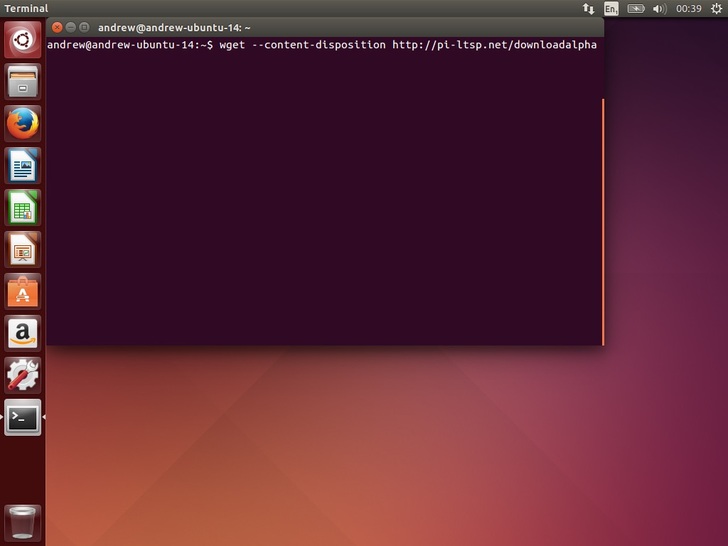
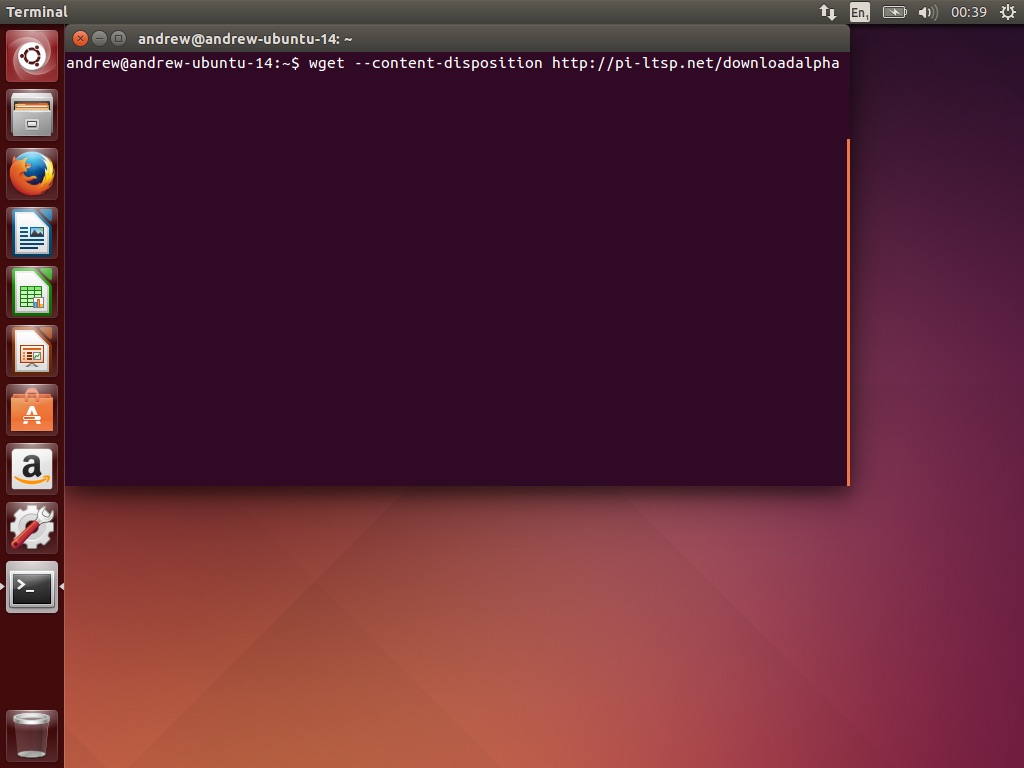
Enter
wget --content-disposition http://pi-ltsp.net/downloadalphaand hit enter. This downloads the RaspberryPi-LTSP script. The main script is calledPi_ltsp.
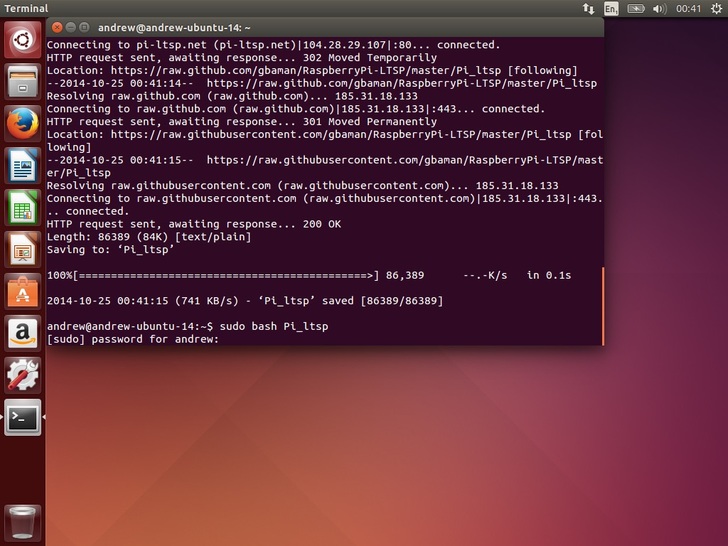
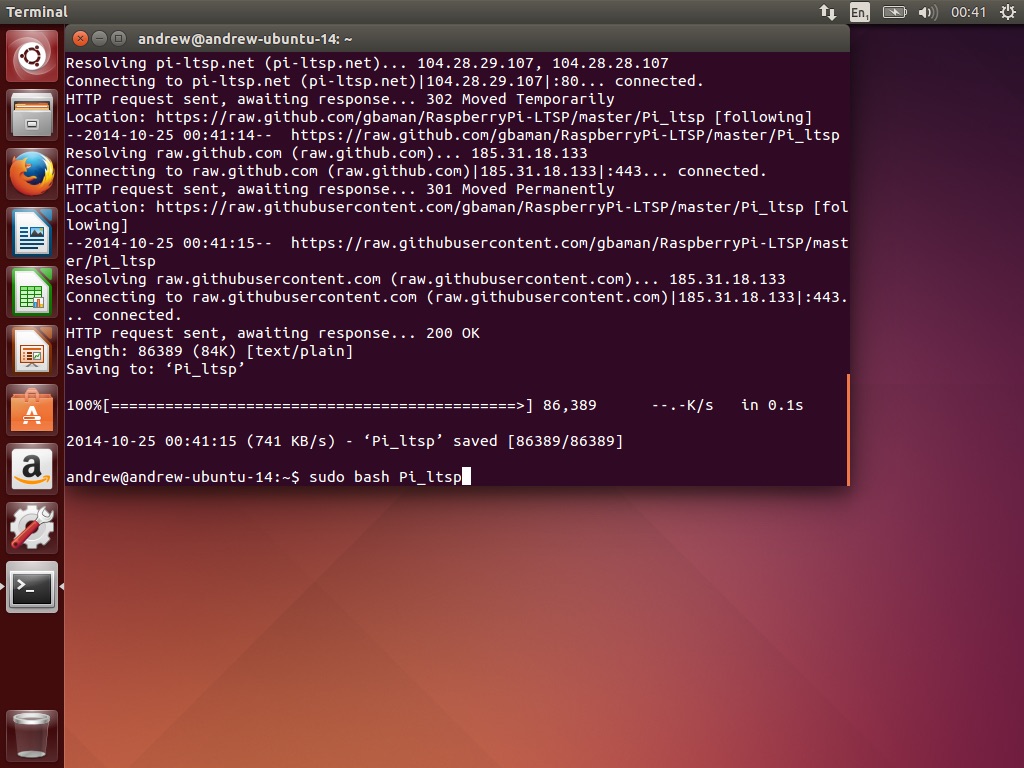
Once that completes, enter
sudo bash Pi_ltspwhich will launch Raspi-LTSP. A desktop icon will be created when the software installs but you can always use this command to manually launch Raspi-LTSP.

Enter your password as the application must be run as administrator (nothing will look like it is being entered, this is a Linux security feature so don't worry, it is being entered).
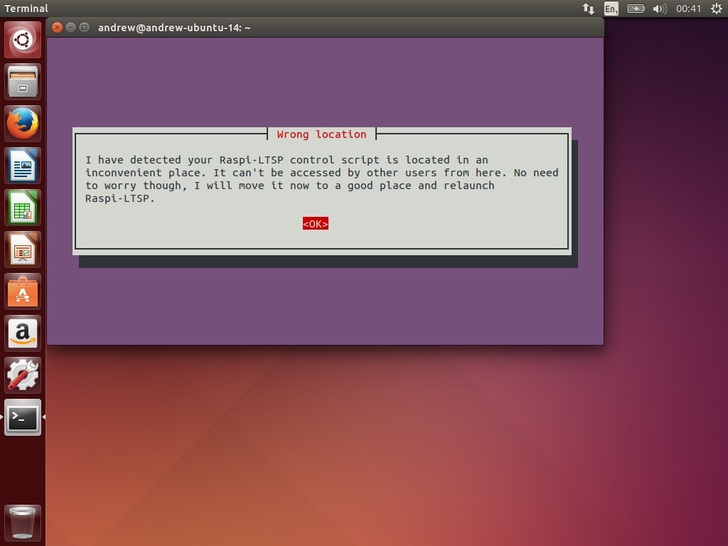
Raspi-LTSP will detect its installation location is wrong. Don't worry, it will fix it. Select ok.
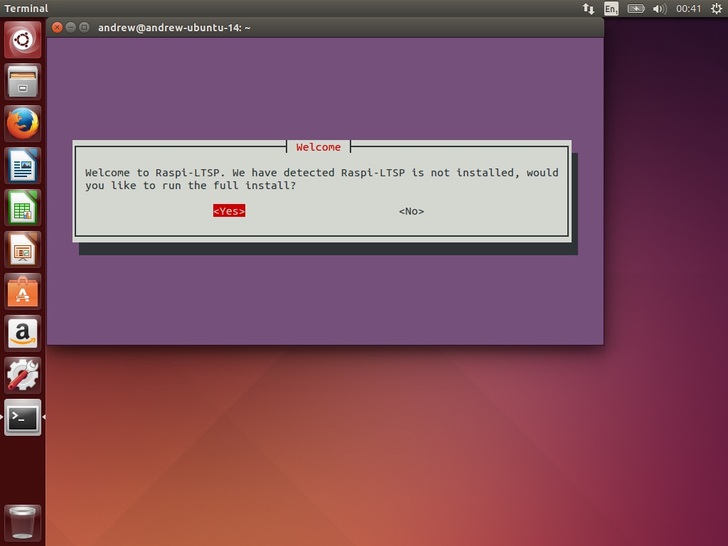
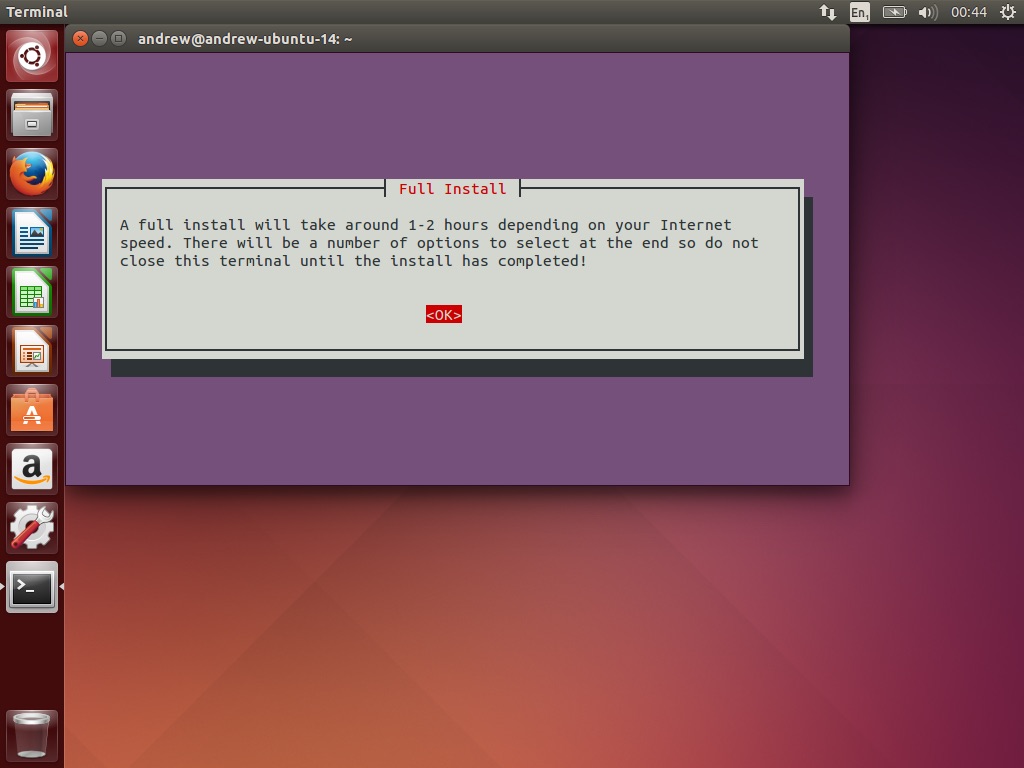
Raspi-LTSP will offer to run a full install, select yes.
Raspi-LTSP supports importing user data from an older Raspi-LTSP server. See the migration guide for details. Select No.

The install will take roughly 1-2 hours depending on processor speed and internet speed. Select ok and it will start the installation. You can now leave it to work.

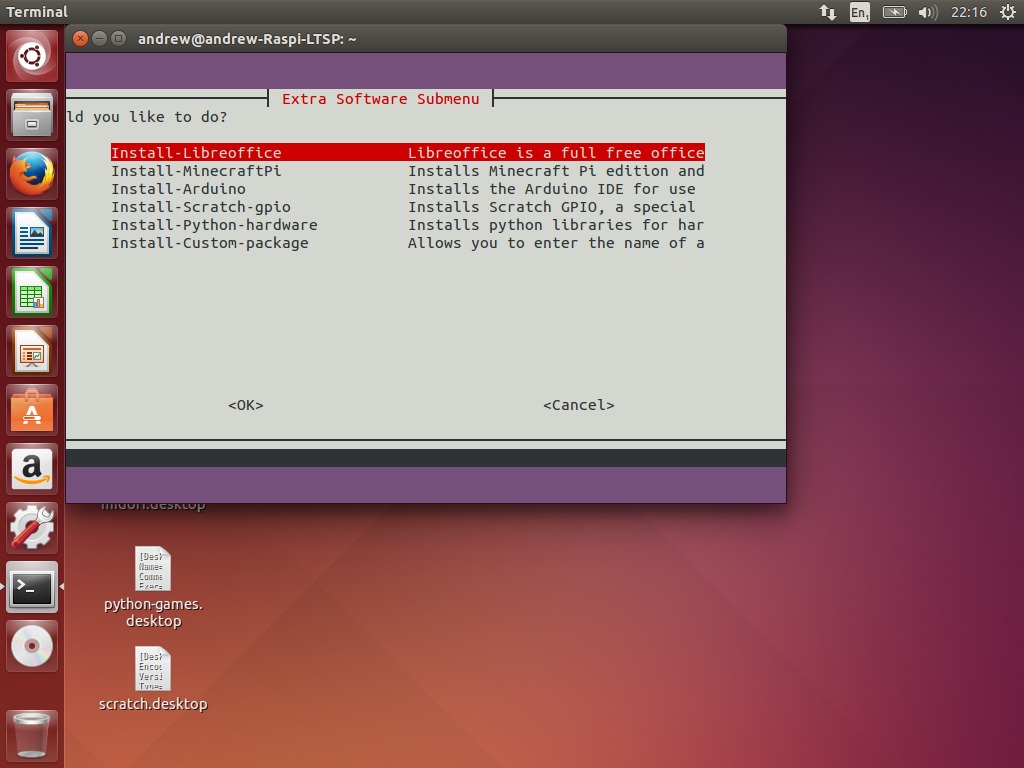
Around 1-2 hours later, the extra software dialog will be displayed. Here you can select any additional software you with to install. Libreoffice can be useful for a classroom; it is a free full office suit, similar to Microsoft Office. You can also install a custom package from the software repositories if you know its full name. Once you have finished, select cancel (or finished) to move on.

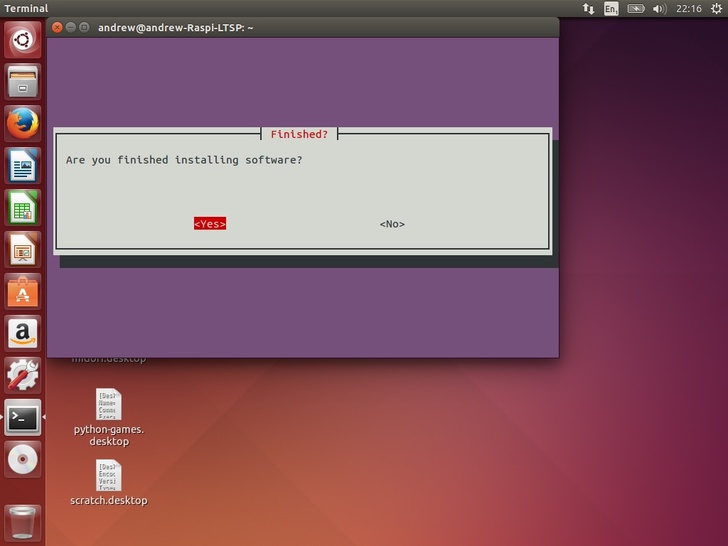
Select yes when asked if you are finished installing software.
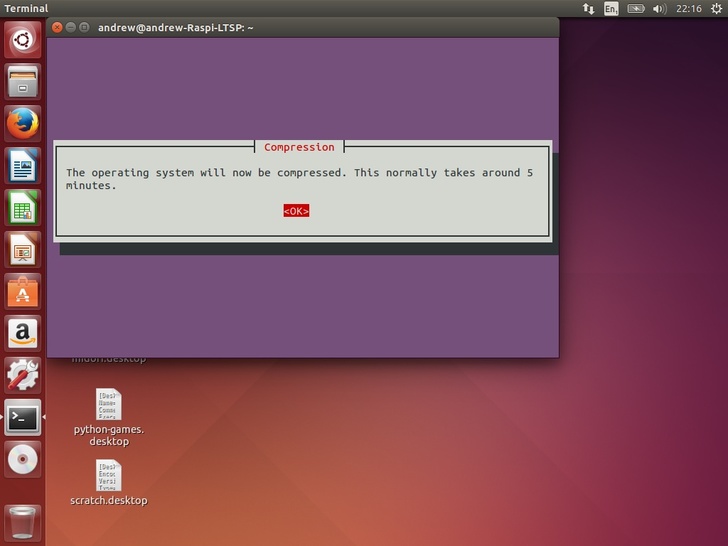
The operating system will now be compressed. After every change made to the operating system, it must be recompressed which takes roughly 5 minutes normally. Select ok.
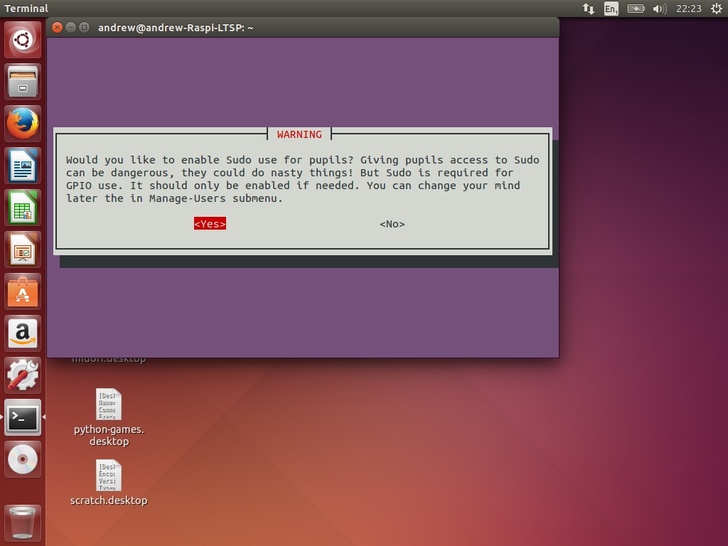
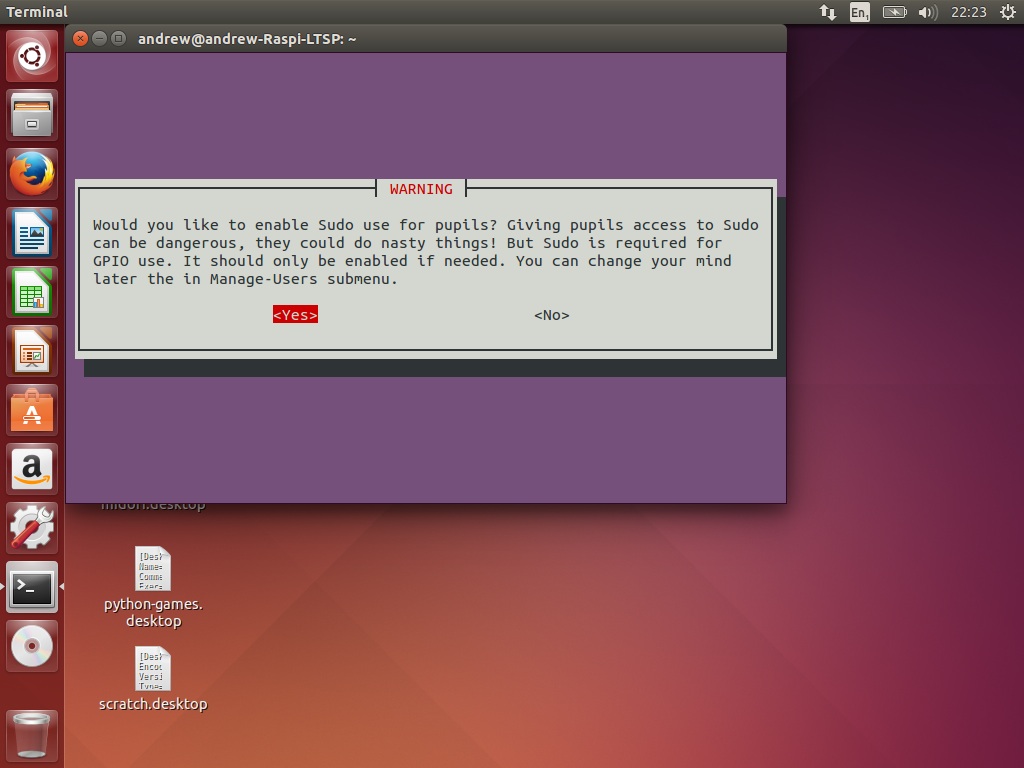
You must decide if you need students to have Sudo access on the Raspberry Pi. If you intend to work with the GPIO pins on the Raspberry Pi they will need it. You can really easily later enable or disable Sudo use in the Manage-Users submenu in the main software options. If in doubt, is recommended to enable it by selecting yes.
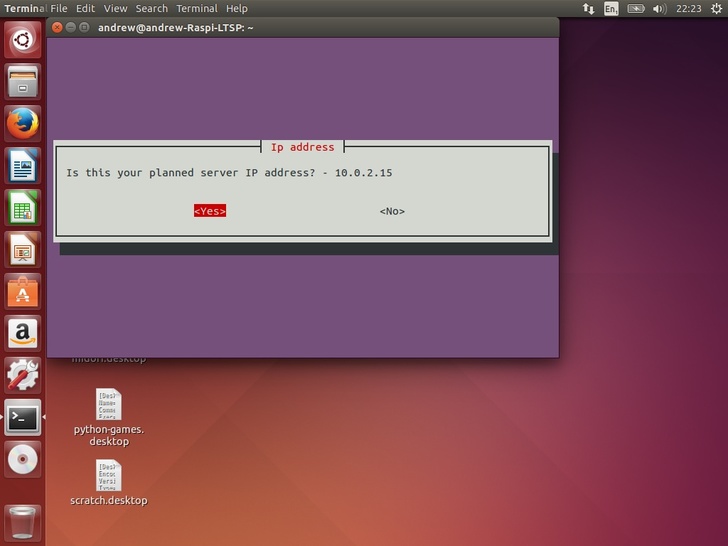
If using 2 network interface cards then check the IP address is correct. If you are only using 1 (most people), then the default will likely be correct. Select yes.
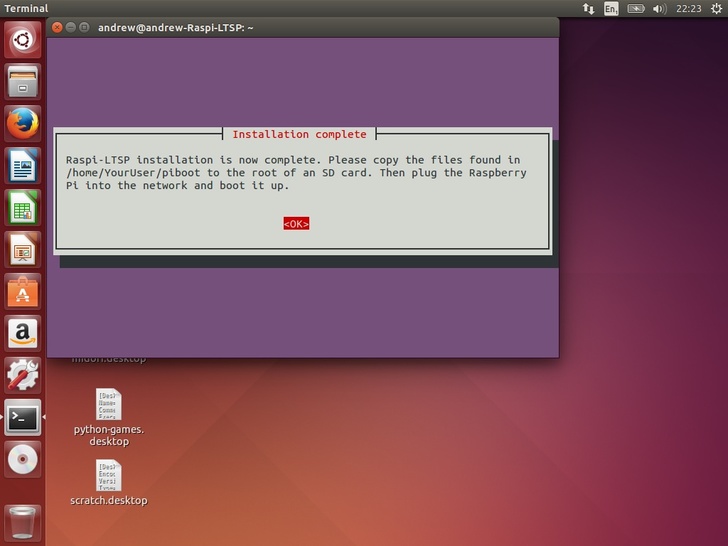
Raspi-LTSP installation is now complete. The server has generated an SD card image which is located in /home/YourUser/piboot. You need to copy these files onto a blank formatted SD card and connect the Raspberry Pi to the network.
You are recommended to check the Backup section of this manual on setting up an automatic backup of your students work to an external hard drive in case of hard drive failure.


Copying to SD card
Now that you have installed RaspberryPi-LTSP, you need to copy the boot files to an SD card. Copy boot files to SD card